|
To retrieve the material click on the parrot

PRINTEMPS
The tutorial is written with PSP 2018 but can also be done with other versions.
--------
Matérial
You need at your choice
1 image on the spring theme
1 main tube related to spring
Decoration tubes
1 mask Becky Cretions, 1 alpha file
Filters
Transparency
Funhouse (Xaggerate)
Mura's Meister (Cut Glass)
Alien shin/Impact/extrude
Virtual Painter 4
Willy (Takinami Bamboo Web)
Graphic Plus (Cross Shadow)
************
Ce tutoriel est ma propriété, il est interdit de le copier ou
de le distribuer sur le Net sans mon autorisation écrite
De même il est interdit de retirer le watermark du matériel,
respectons le travail des tubeuses sans qui nous ne pourrions pas créer de tutoriels
************
This tutorial is my property, it is forbidden to copy or distribute it on the Internet without my written permission.
Likewise it is forbidden to erase the watermark of the material
Respect the work of the tubeuses without which we could not create tutorials
******************
If you are ready we start :
Choose two colors on your image, one dark color on foreground for me #4e7eff and one light color on background for me #a9ecf6
Open your images and your tubes duplicate them and close the originals
Open your alpha file, it isn't empty, it contains the selections
Window/Duplicate, close original, we work on the copy, rename it "Raster 1"
Select/Select all
Edit/Copy your image on the spring theme
Edit/Paste in the selection
Selection/Selection none
Adjust/Blur/Gaussian blur 20

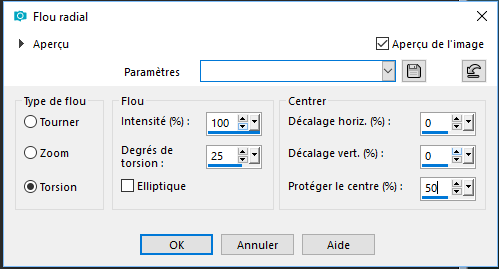
Adjust/Blur/Radial blur (swirl 100/25/0/0/50 elliptical unchecked)
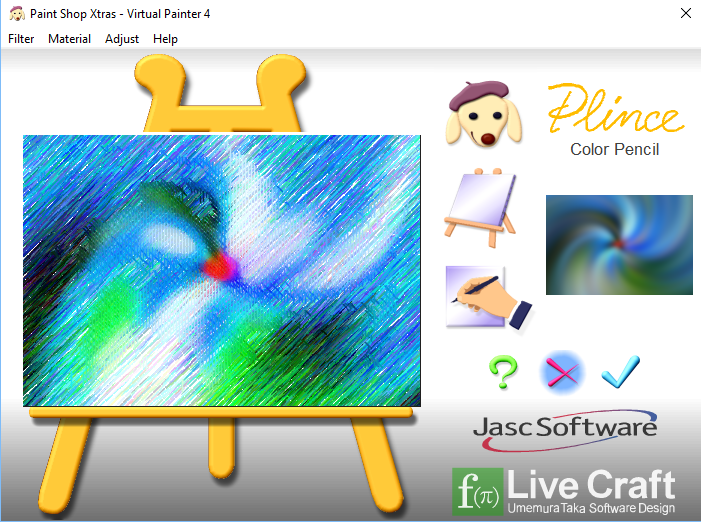
Effect/Plug ins/Virtual Painter 4
Filter on Color Pencil
Material on Paper (Smooth)
Adjust on Color intense
You should get this
Adjust/Sharp/Sharpness
Layer/Duplicate
Image/Resize 90 (all layers unchecked)
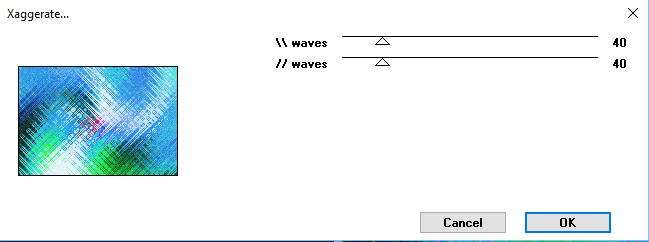
Effects/Plug ins/Funhouse/Xaggerate (40/40)
Select/Select all
Select/Float
Select/Defloat
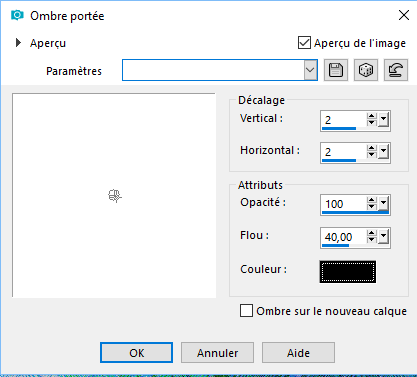
Effects/Effects 3D/Drop Shadow (2/2/100/40 black)
Remake drop shadow in negative -2/-2/100/40
Open the mask "Mask Template 5.jpg" Edit/Copy
Layer/new layer
Edit/Paste in the selection
Effects/Plug ins/Transparency/Eliminate white
Select/Select all, select/Float/Select/Defloat
Fill the selection with dark color (flood fill tool on none) Select/Select none
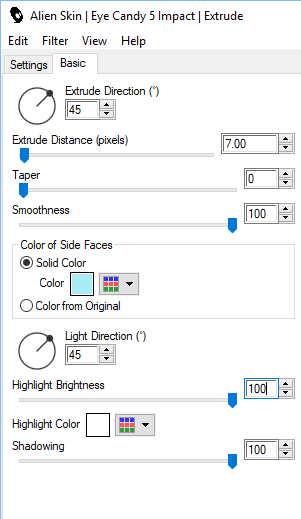
Effects/Plug ins/Alien Skin/Impact/Extrude
(settings : Small offset 45 degrees, basic : with the specified parameters and your light color
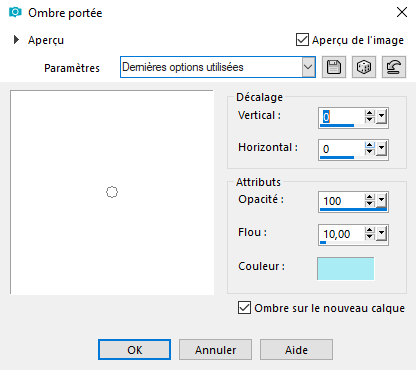
Effects/Effects 3D/Drop shadow (0/0/100/10 light color and shadow on new layer checked)
Put the shadow layer in mode "dodge" or other according to your colors
Select/Load/Save selection/Load selection from alpha channel "Selection 1Bis"
Edit/Cut or delete with the key "supp", Select/Select none
Select/Load/Save selection/Load selection from alpha channel "Selection 1"
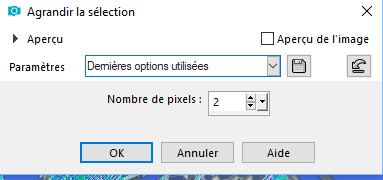
Select/Modify/Expand (2)
Layers/New Layer
Edit/Copy your image from beginning
Edit/Paste in the selection
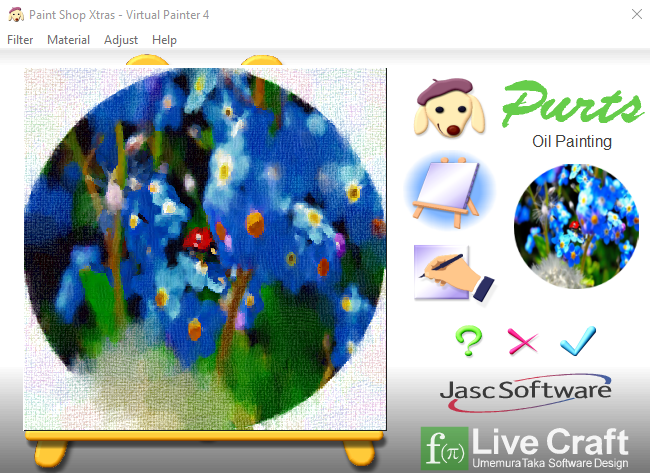
Effect/Plug ins/Virtual Painter 4
Filter on Oil Painting
Material on Canvas (fine)
Adjust without modification all on normal
You should get this
Select/Select none
Go down the layer below raster 2 and get back to the top
Select/Load/Save selection/Load selection from alpha channel "Selection 2"
Select/Modify/Expand (2)
Layers/New Layer
Edit/Copy your image from beginning
Edit/Paste in the selection
Effect/Plug ins/Virtual Painter 4
Filter on Pointillism
Material on Paper (smooth)
Adjust color on intense
You should get this

Select/Select none
Go down the layer below raster 2 and get back to the top
Select/Load/Save selection/Load selection from alpha channel "Selection 3"
Select/Modify/Expand (2)
Layers/New Layer
Edit/Copy your image from beginning
Edit/Paste in the selection
Select/Select none and go down the layer below the layer of mask
Close the raster 1 and merge /merge visible
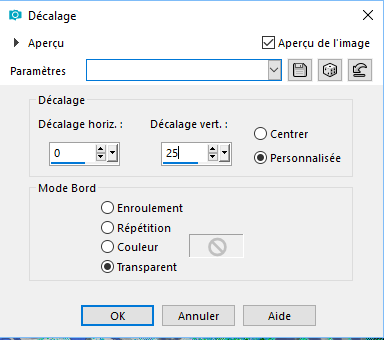
On the merged layer, Effects/Image effects/Offset
Open the raster 1 and stay on it
Layers/Duplicate
Effects/Plug ins/Mura's Meister/Perpective tilling (by default)
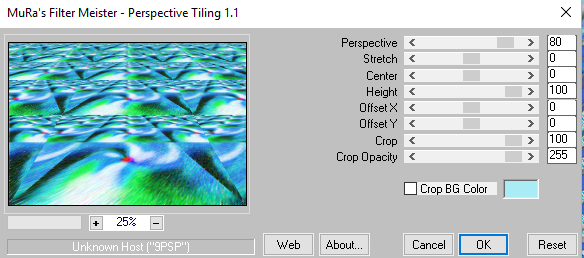
Display the rulers and with the pick tool lower the middle node up to 600
Click on M to remove and remove the rulers
Image/Add borders/2 light color
Image/Add borders/5 dark color
Image/Add borders/2 light color
Select/Select all
Image/Add borders/25 dark color
Select/Invert
Effects/Plug ins/Two Moon/Cut Glass (39/59)

Select/Promote selection to layer
Image/Mirror/Mirror vertical promote the float to layer
Layers/Properties/Opacity 50%
Layers/Merge with merge down 2 times
Select/Invert
Effects/Effects 3D/Drop Shadow (0/0/100/10 black)

Select/Select none
Image/Add borders/2 light color
Image/Add borders/5 dark color
Image/Add borders/2 light color
Image/Add borders /50 dark color
Select this band with the magic wand
Select/Invert and do the same drop shadow (still in memory)
Invert selection again
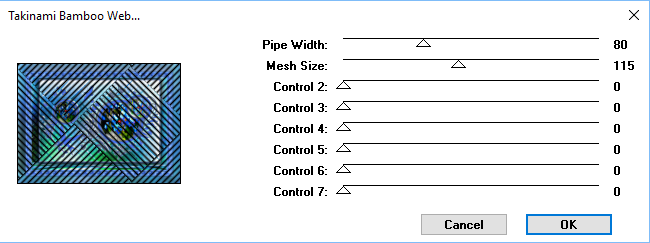
Effects/Plug ins/Willy/Takinami Bamboo web (80/115/0/0/0/0/0)
Effects/Plug ins/Graphic Plus/Cross Shadow (by default, all to 50 except the two last to 128)
Select/Select none
Set up your main tube and your various decorations, do them a one nice drop shadow
When everything seems perfect, merge all
Image/Add borders /2 dark color
Sign your realization, resize if necessary and save in JPEG
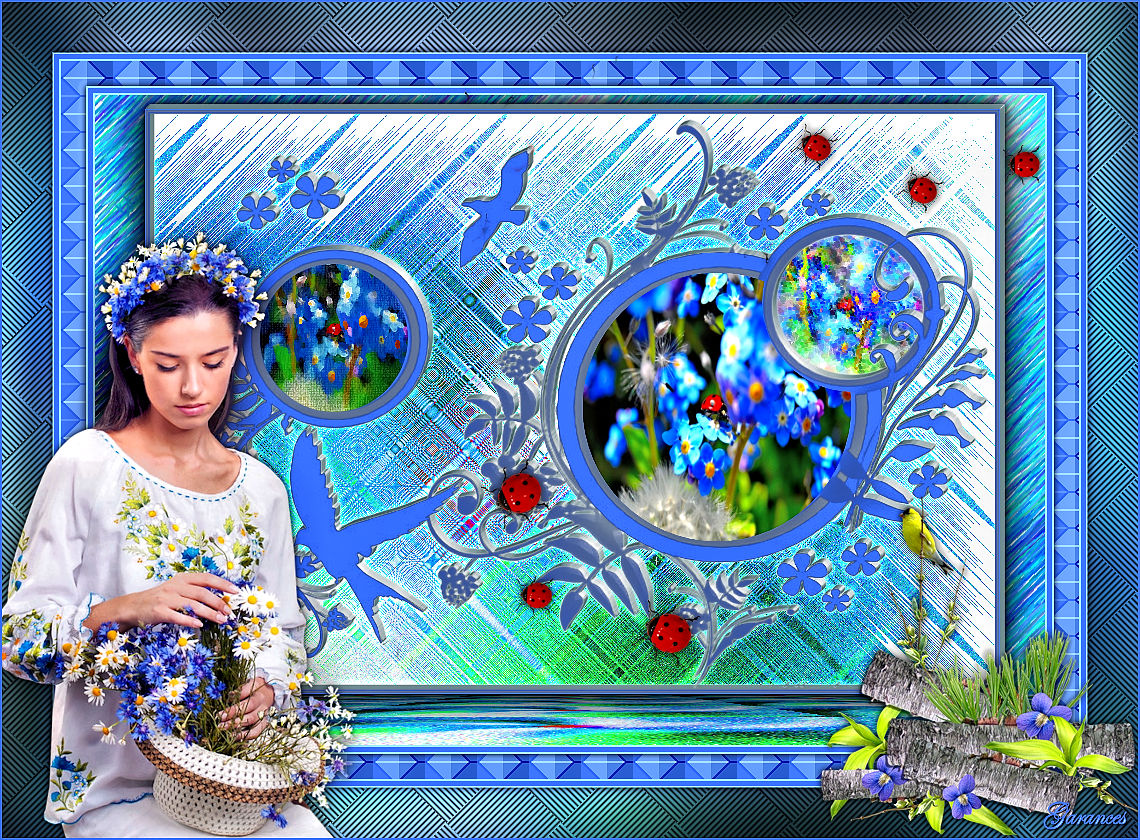
Here it is, I hope that the realization of this tag has pleased you
Thanks you for having realizing
Thanks to Alyciane who checks my all tutorials
Garances 15/04/2018
Retour au menu
|